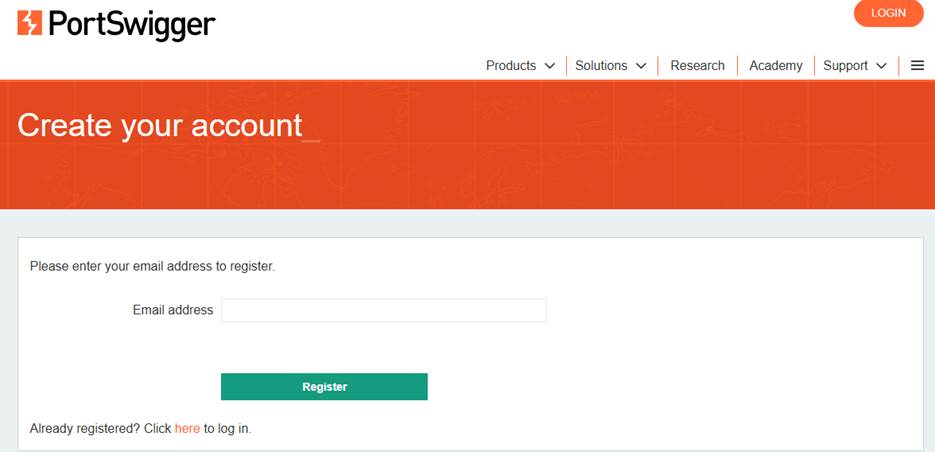
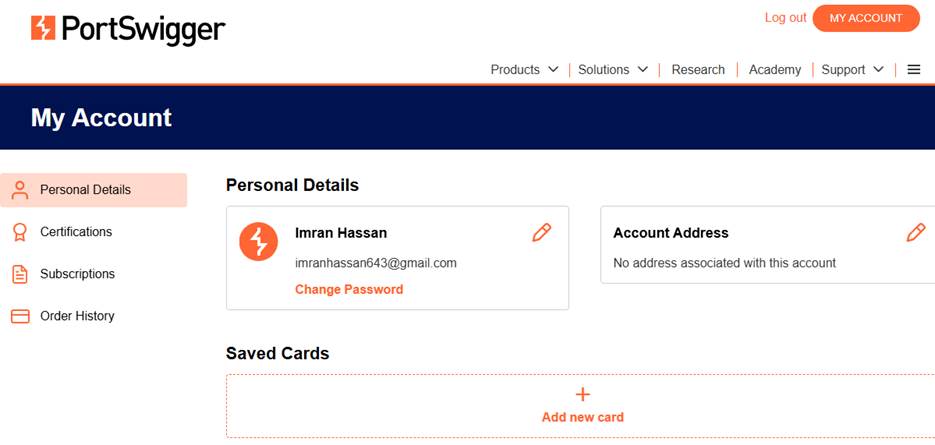
1. Create an account on PortSwigger Web Security Academy by:
- Going to the PortSwigger website: Open your web browser and navigate to https://portswigger.net/.

- Locating the “Create an account” option: This is usually found near the Login button after clicking on My Account, often in the top right corner of the page or in the footer. You can also directly go to the registration page: https://portswigger.net/users/register.
- Enter your email address: You’ll be prompted to enter your email address to register.
- Complete the reCAPTCHA: PortSwigger uses reCAPTCHA, so ensure you have access to Google’s servers.
- Check your email: After submitting your email, you should receive an email with instructions to complete your registration, including setting a password.
- Set your password and log in: Follow the link in the email to set your password and then log in to your new account.
2. Explore the dashboard:
Once logged in, you’ll be taken to your PortSwigger Web Security Academy dashboard. Here’s what i found:
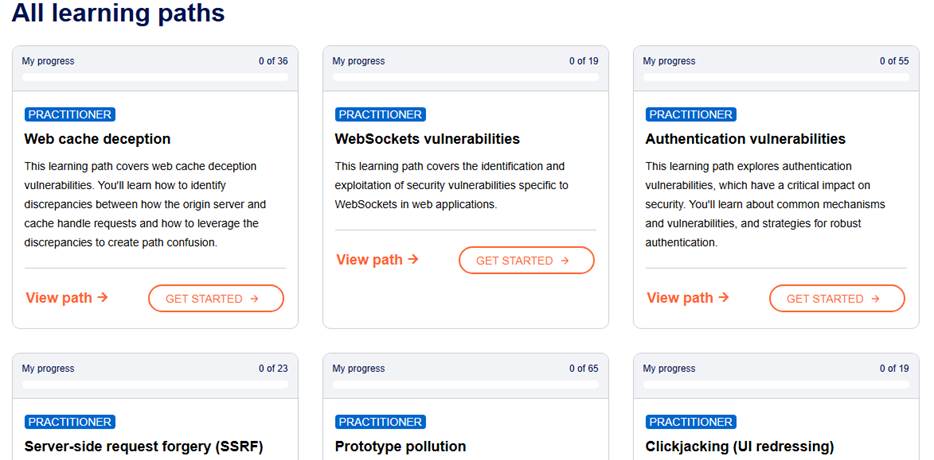
- Learning Paths: This to me is an important feature. PortSwigger organizes its content into structured learning paths (e.g., Apprentice, Practitioner). These paths guide you through various vulnerability categories and techniques in a logical order.
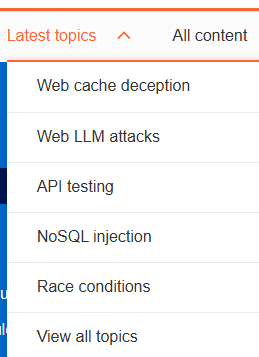
- Topics: You’ll see a list of various web security topics, categorized into Server-side, Client-side, and Advanced vulnerabilities. Examples include:
- SQL Injection
- Cross-site Scripting (XSS)
- Authentication vulnerabilities
- Access Control
- Server-Side Request Forgery (SSRF)
- HTTP Request Smuggling
- Insecure Deserialization
- Many more.
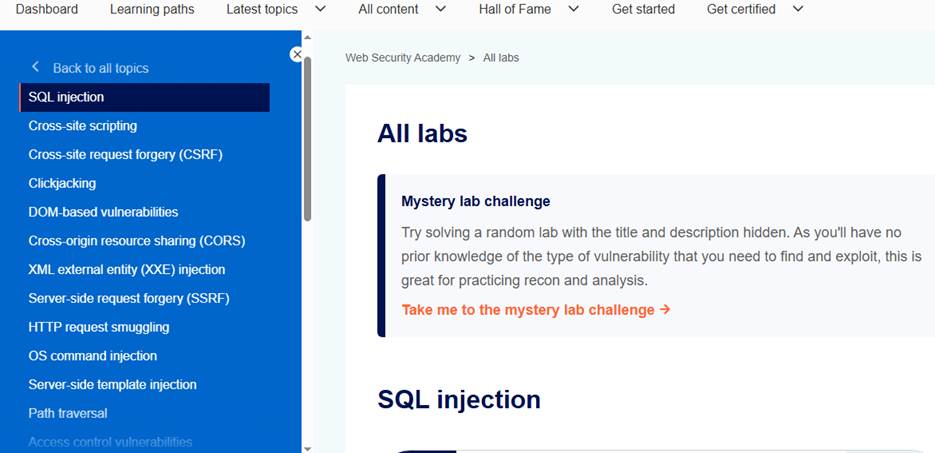
- Labs: For each topic, there are interactive labs where you can practice exploiting vulnerabilities in a safe, legal, and controlled environment. These labs are designed to be hands-on and simulate real-world scenarios.
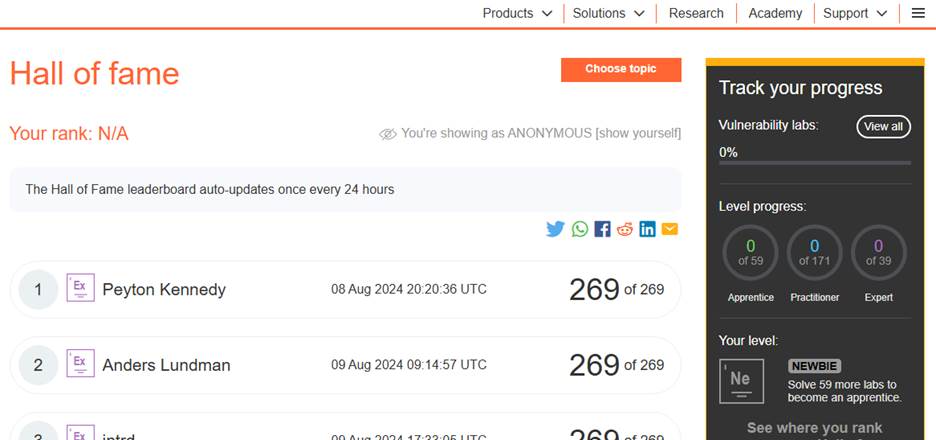
- Progress Tracking: Your dashboard will show your progress through learning materials and completed labs. This helps you keep track of what you’ve learned and what’s next.
- Hall of Fame/Leaderboard: You might find a leaderboard showing top performers. This can be a motivational feature.
- Get Started/Get Certified sections: These sections provide guidance on how to begin your learning journey and information about the Burp Suite Certified Practitioner certification, which you can pursue after gaining sufficient knowledge.
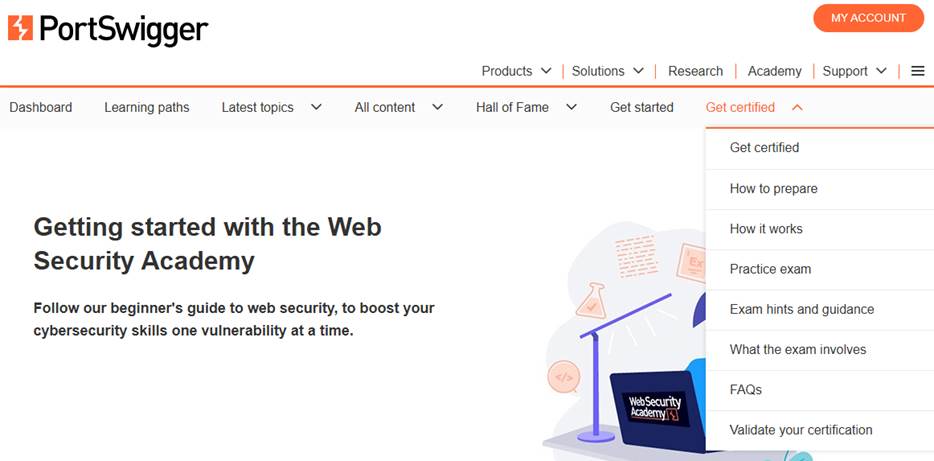
- Latest Topics/Content: There’s usually a section highlighting newly added topics or labs, keeping the content fresh and relevant.
3. Familiarize yourself with the platform:
- Clicking around:
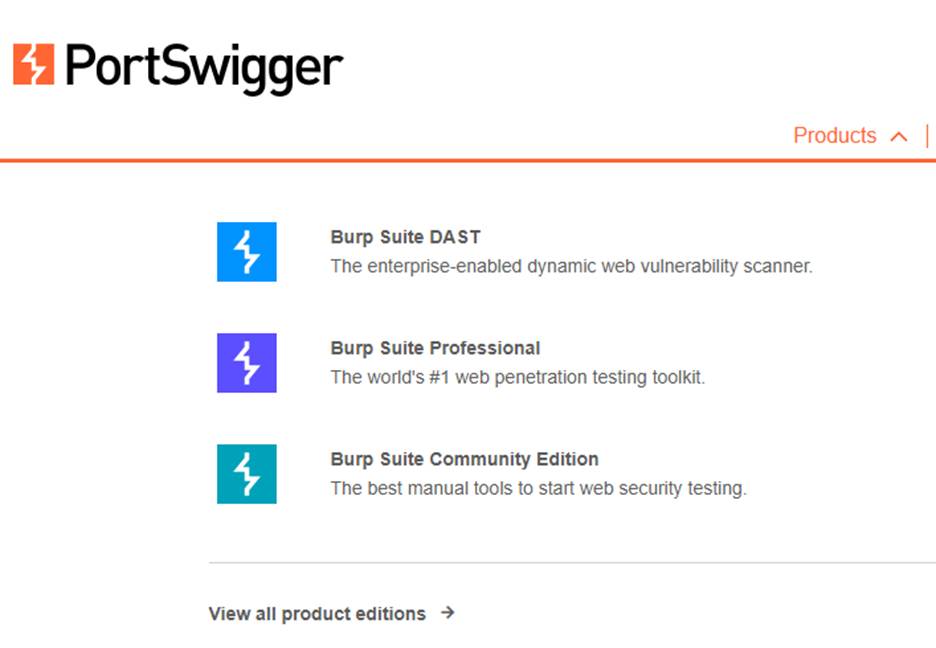
Products:
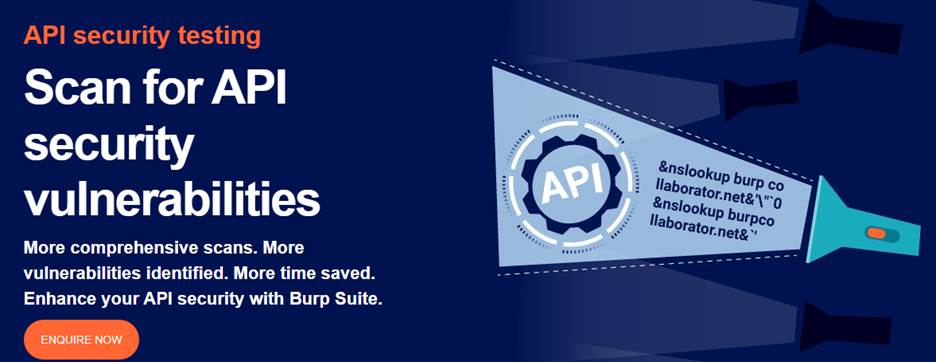
API Scanner:
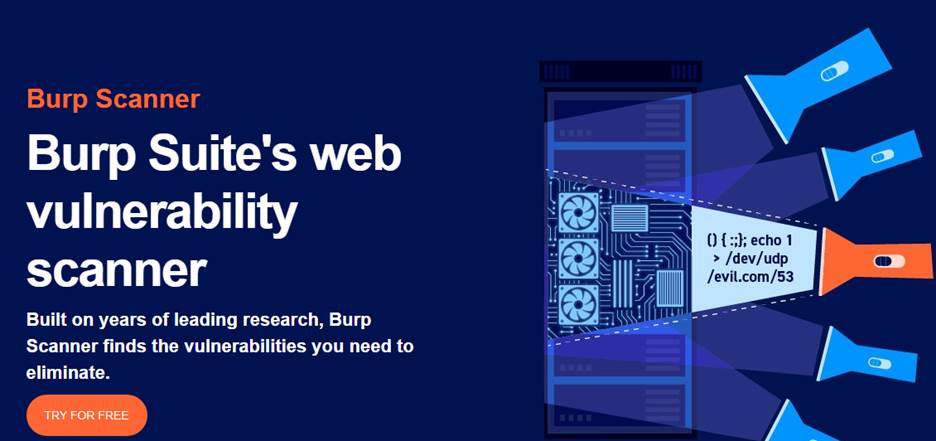
Burp Scanner:
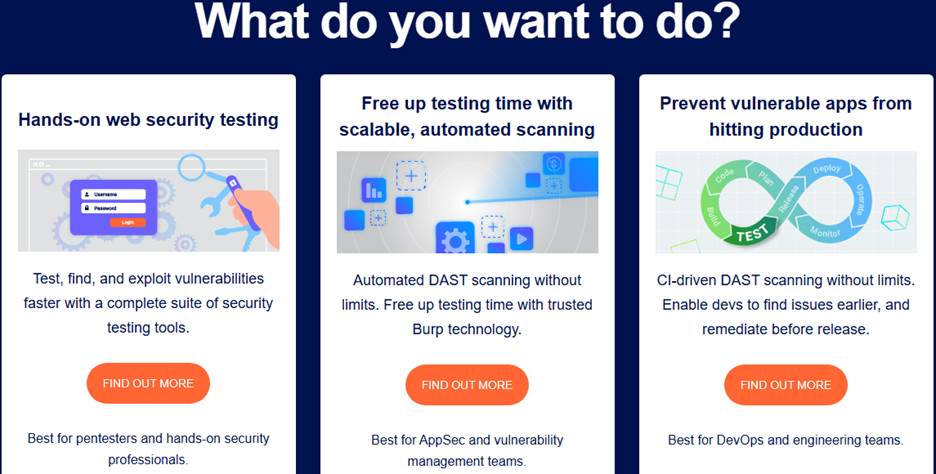
What Do You Want To Do?:
Solutions:
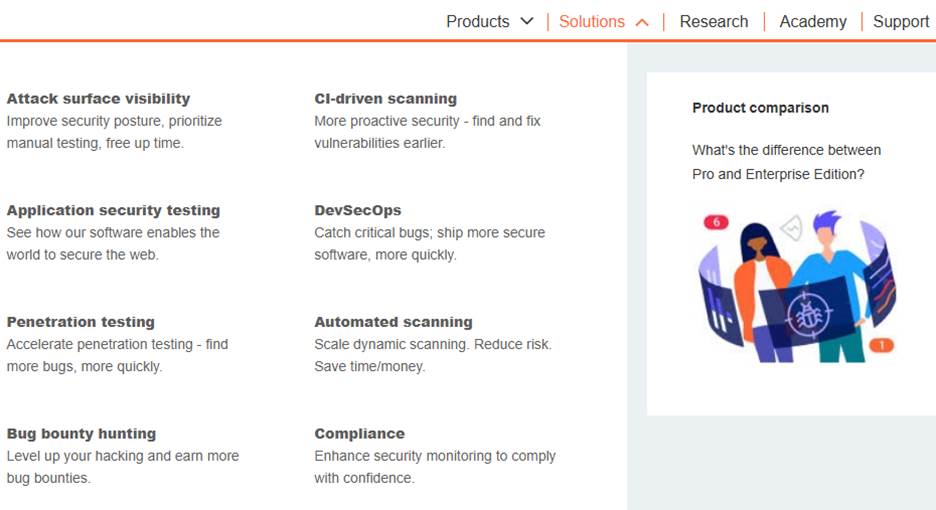
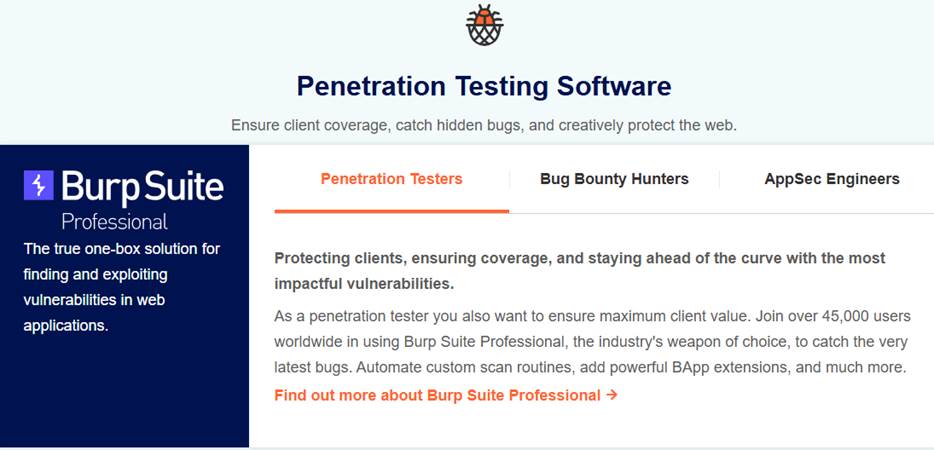
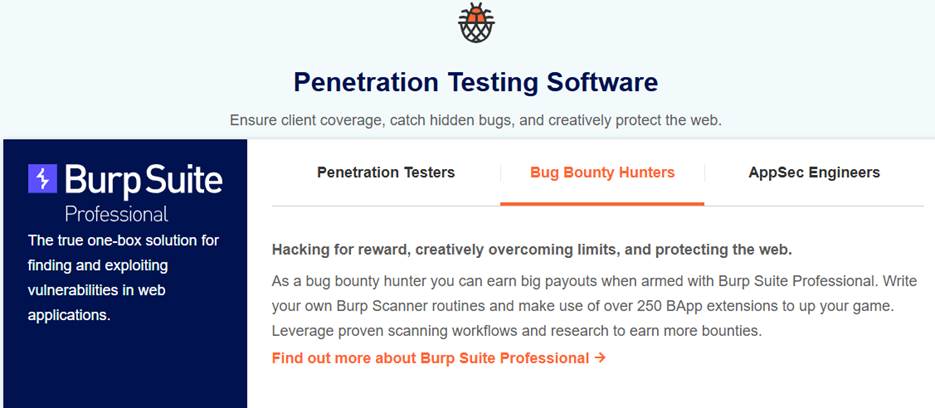
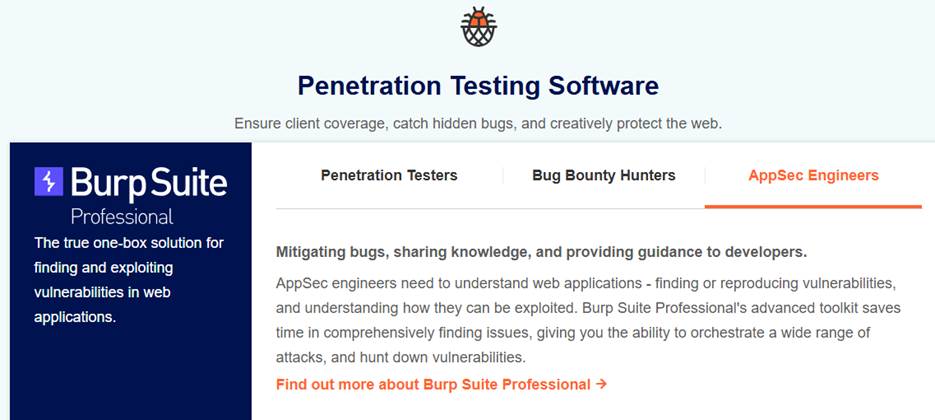
Penetration Testers, Bug Bounty Hunters, AppSec Engineers:
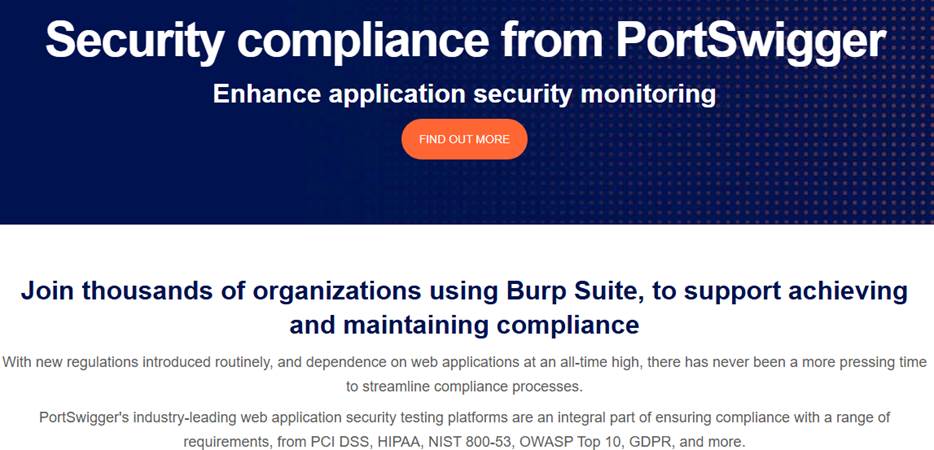
Security Compliance:
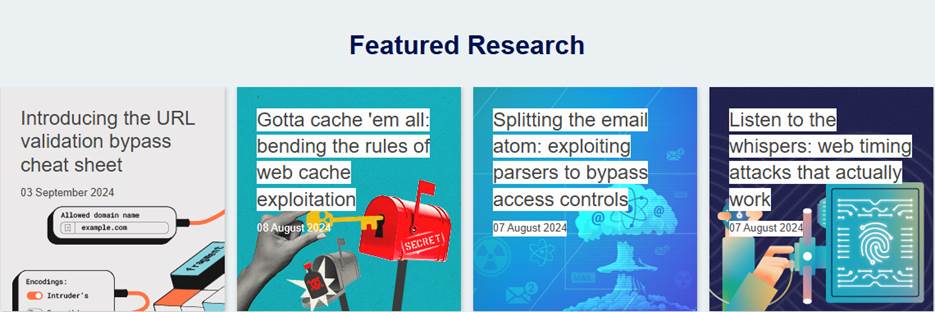
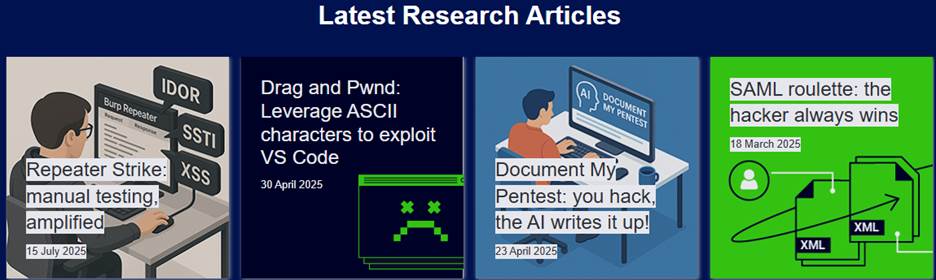
Research, Research Articles, and Researchers: