
Introduction
FoxyProxy is a powerful and essential browser extension for anyone involved in web application security testing. It’s a time-saver that eliminates the need to manually configure your browser’s proxy settings every time you switch between normal browsing and using a web proxy tool like Burp Suite. By providing a quick and easy way to toggle between proxy profiles, FoxyProxy streamlines your workflow, allowing you to focus on the task at hand: finding vulnerabilities. This guide will provide a quick overview of the system requirements, and a summary of the configuration process for setting up FoxyProxy with Burp Suite on your Kali Linux VM, followed by a concluding statement on why this setup is so valuable.
System Requirements
To effectively use FoxyProxy and Burp Suite together on a Kali Linux VM, you’ll need to meet some basic system requirements to ensure smooth performance.
- Operating System: You need a Kali Linux virtual machine, which is a popular choice for penetration testing due to its pre-installed tools.
- Virtualization Software: The guide assumes you are using VMware Workstation, but the steps are generally applicable to other virtualization platforms like VirtualBox.
- Browser: The guide specifically uses Mozilla Firefox, as FoxyProxy is a widely-used extension for this browser.
- Required Tools: You must have Burp Suite installed and running on your Kali Linux VM.
- Hardware: While not explicitly stated in the guide, having a sufficient amount of RAM (8 GB or more) and CPU cores (2 or more) allocated to your Kali Linux VM is crucial for handling the traffic processing demands of Burp Suite.
Step 1: Install the FoxyProxy Extension
First, you need to add the FoxyProxy extension to your browser. I’m using Firefox on Kali Linux.
- Open Firefox in your Kali Linux VM.

- Go to the Firefox Add-ons page. You can either search for it or go directly to the official Firefox Add-ons website.
- In the search bar, type “FoxyProxy Standard” and press Enter.
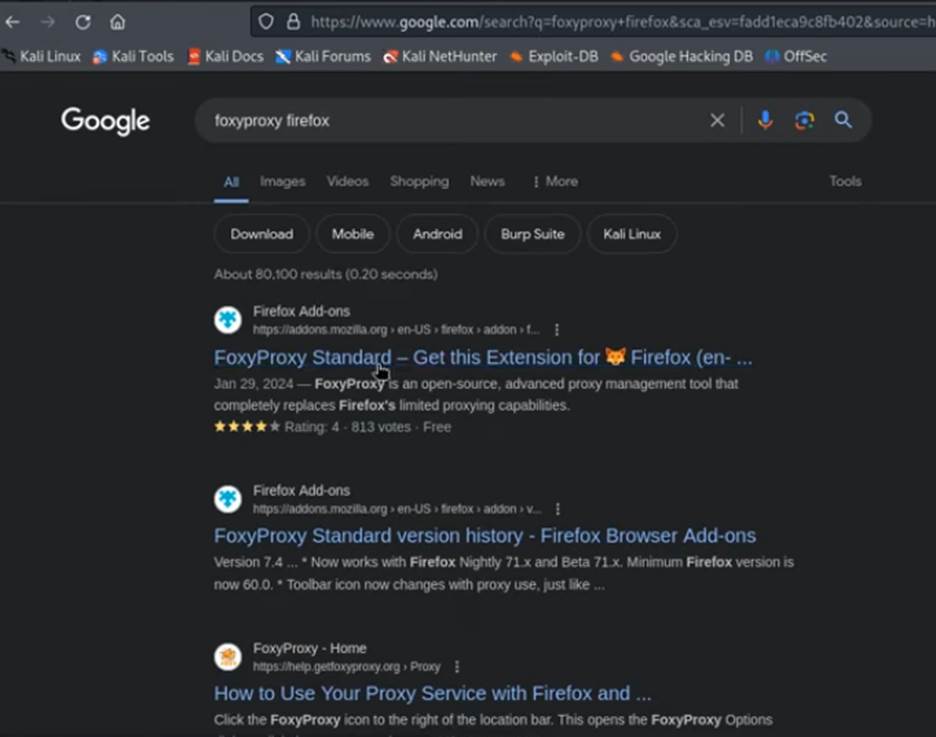
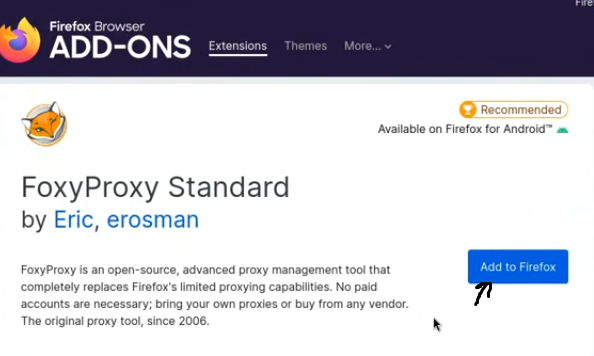
- Click on the “FoxyProxy Standard” extension from the search results.
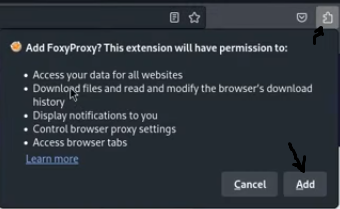
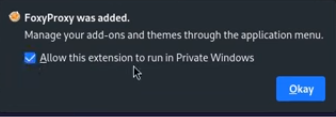
- Click the “Add to Firefox” button and confirm the installation. A small fox icon will appear in your browser’s toolbar.
Step 2: Configure Burp Suite’s Proxy Listener
Before configuring FoxyProxy, you need to ensure Burp Suite is set up to listen for incoming traffic.
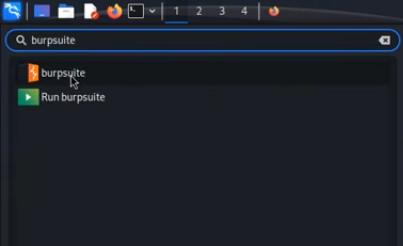
- Launch Burp Suite from your Kali Linux applications menu or by typing burpsuite in a terminal.
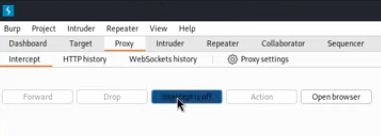
- In Burp Suite, navigate to the Proxy tab.
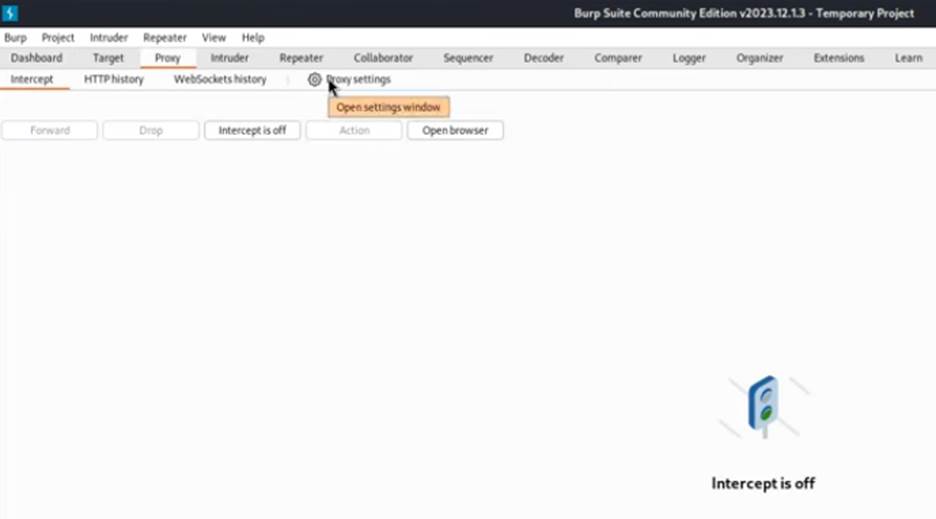
- Go to the Options sub-tab.
- You should see a “Proxy Listeners” section. By default, there should be a listener on the loopback interface (127.0.0.1) and port 8080.
- If it’s not already running, make sure the checkbox next to the listener is checked to ensure it’s active. If there isn’t one, you’ll need to add a new listener with these details.

Step 3: Configure FoxyProxy for Burp Suite
Now, you’ll create a new proxy profile in FoxyProxy that points to your running Burp Suite instance.
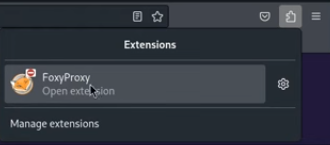
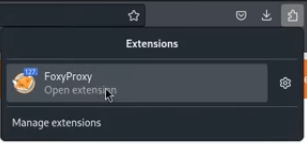
- Click on the FoxyProxy fox icon in your browser toolbar and select “Options”.
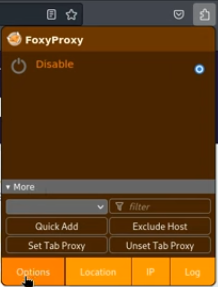
- In the FoxyProxy options page, go to the Proxies tab.
- Click the “Add” button to create a new proxy profile.
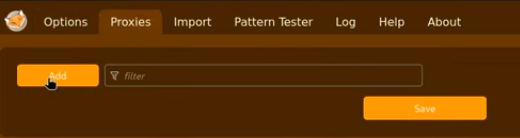
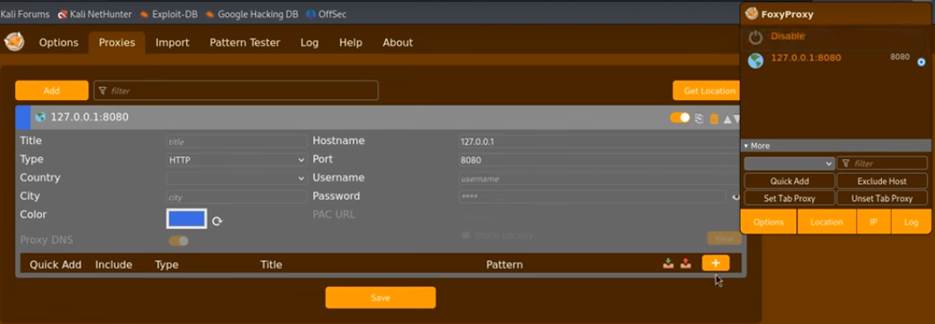
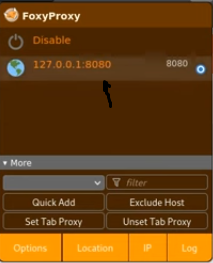
- Fill in the details for your new proxy:
- Title: Give it a descriptive name, like “Burp Suite” or “Burp Proxy.”
- Proxy Type: Leave it as HTTP.
- Proxy IP address or DNS name: Enter 127.0.0.1.
- Port: Enter 8080.
- Click “Save” to save your new profile.
Step 4: Install the Burp Suite CA Certificate
To prevent security warnings and allow Burp Suite to intercept and inspect HTTPS traffic, you need to install its CA certificate.
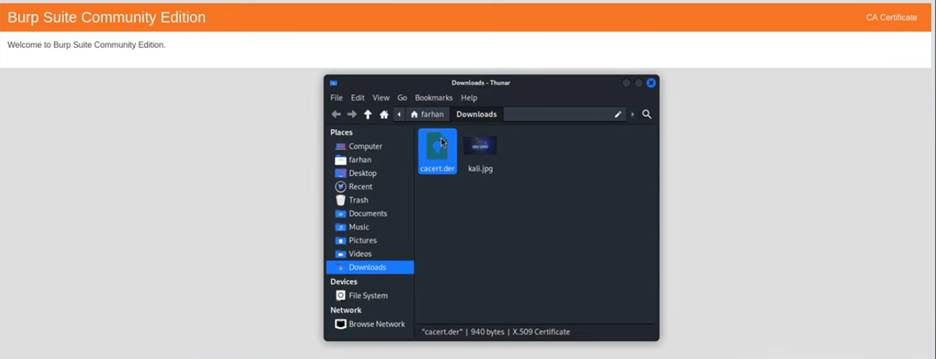
- With the FoxyProxy profile you just created enabled, navigate to the following URL in your browser: http://burpsuite

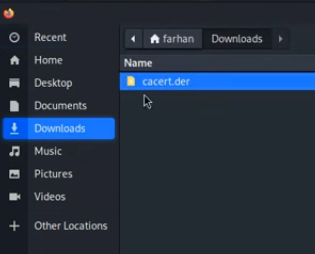
- You should see a welcome page from PortSwigger. Click the “CA Certificate” button to download the
cacert.derfile.
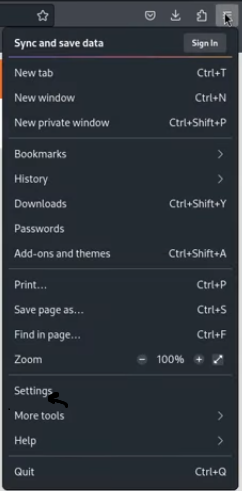
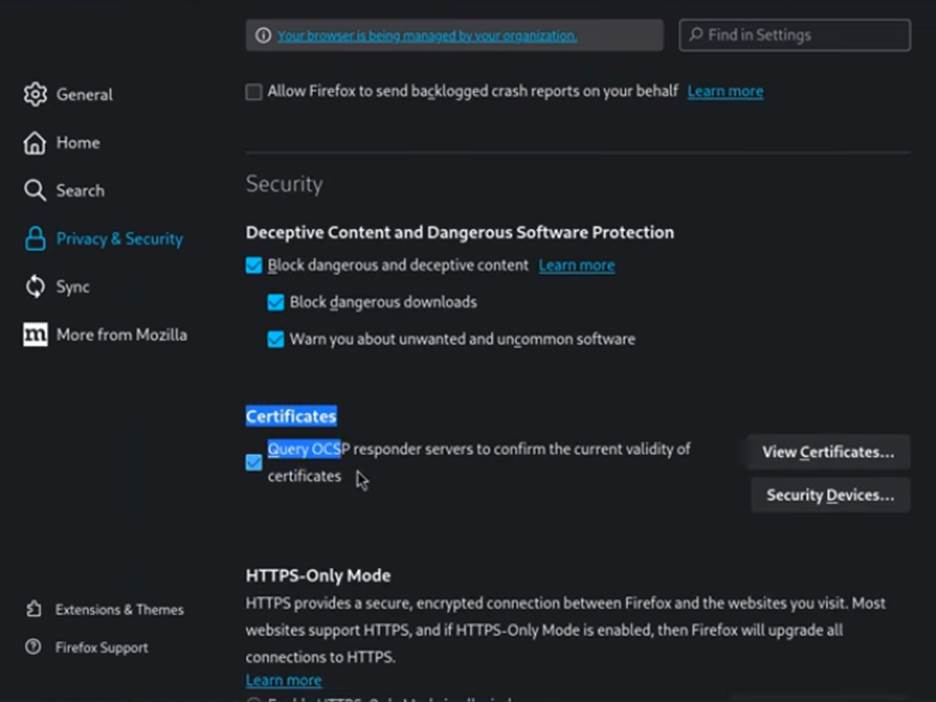
- In Firefox, go to Settings > Privacy & Security.
- Scroll down to the Certificates section and click “View Certificates”.
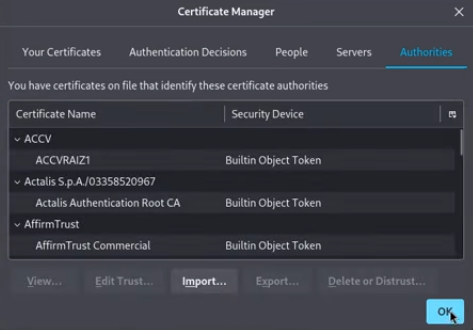
- In the new window, go to the Authorities tab and click “Import”.

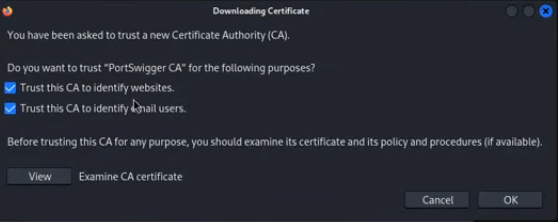
- Select the cacert.der file you downloaded. A pop-up will ask you to trust the certificate. Check the box for “Trust this CA to identify websites” and click OK.
Your browser is now configured to work seamlessly with Burp Suite.
To begin testing, simply click the FoxyProxy icon and select the “Burp Suite” profile.
Go to Burpsuite and click on the intercept button
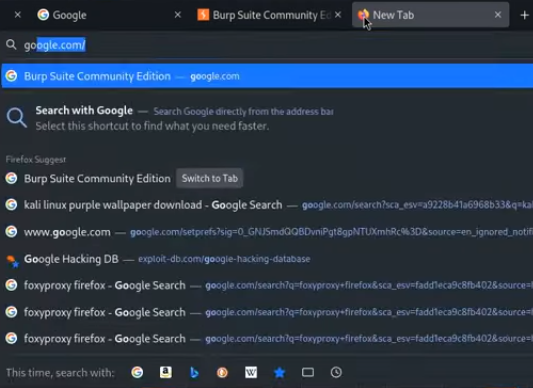
Now try intercepting a web page

To return to normal browsing, select “Turn Off FoxyProxy (Use Firefox Settings)”.
Summary
This guide outlines a simple, four-step process for configuring FoxyProxy with Burp Suite on a Kali Linux virtual machine. The process begins with Step 1, installing the “FoxyProxy Standard” extension in Firefox. Step 2 covers setting up Burp Suite’s proxy listener to ensure it’s ready to receive traffic on 127.0.0.1:8080. In Step 3, a new FoxyProxy profile is created and configured to point to Burp Suite’s listening address. Finally, Step 4 is a critical step for security and functionality, requiring the user to download and install the Burp Suite CA certificate in Firefox. This allows for the interception of HTTPS traffic without browser security warnings. Once complete, users can easily toggle between using Burp Suite for testing and normal browsing, significantly improving their workflow efficiency.
Conclusion
Configuring FoxyProxy with Burp Suite is a fundamental step toward mastering an efficient workflow in web penetration testing. This simple setup allows you to switch between testing and regular browsing with a single click, saving you valuable time and effort. By properly setting up the proxy listener and installing the Burp Suite CA certificate, you ensure that you can seamlessly intercept and inspect all web traffic, including encrypted HTTPS requests. This powerful combination of FoxyProxy and Burp Suite is an indispensable part of any ethical hacker’s toolkit, enabling a more productive and streamlined approach to finding and analyzing web vulnerabilities.