Linux is a powerful, open-source operating system widely used for servers, development, and security. This guide introduces essential Linux commands for file management, user administration, permissions, and package handling, giving you hands-on practice to build a strong foundation.
Linux Commands:
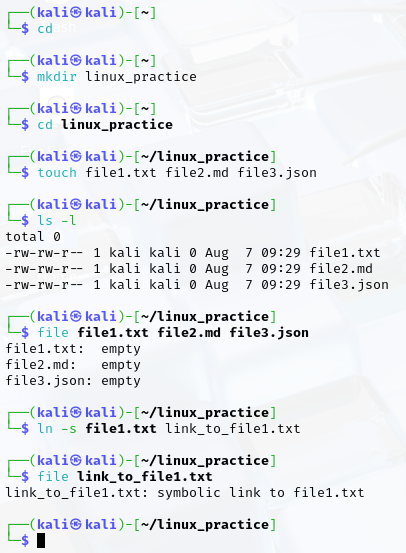
- Navigate to the home directory, Create a new directory named linux_practice.
- Inside linux_practice, create three different files and Verify the files exist.
- Check the type of each file and Create a symbolic link to file1.txt.
- Check the file type of the symbolic link
- Navigate to the linux_practice directory.
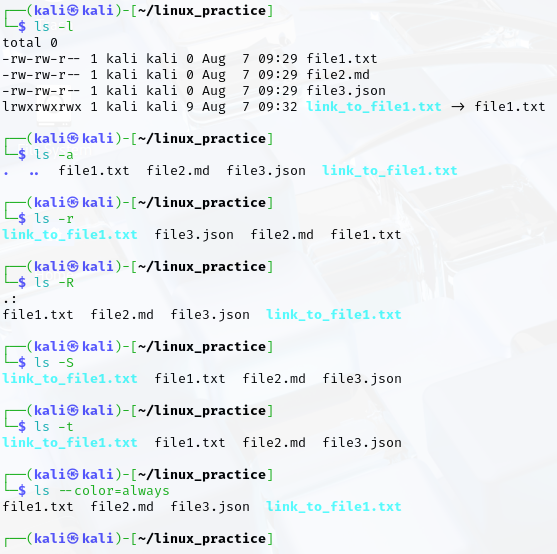
ls commands and their output:
- List files in long format, List all files, including hidden files.
- List files in reverse order, List files recursively.
- List files sorted by size.
- List files sorted by modification time.
- List files with colorized output.
Relative and Absolute Path;
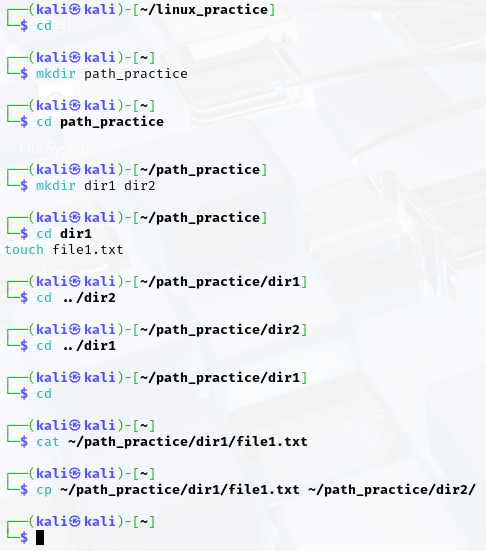
- Navigate to the home directory.
- Create a new directory named path_practice.
- Inside path_practice, create two subdirectories: dir1 and dir2.
- Inside dir1, create a file named file1.txt.
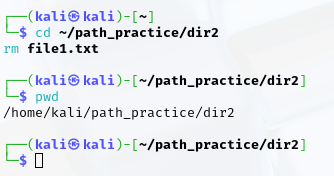
- Move to dir2 using a relative path.
- From dir2, navigate back to dir1 using a relative path.
- From any location, access file1.txt using an absolute path.
- Copy file1.txt from dir1 to dir2 using an absolute path.
- Delete the copied file in dir2 using a relative path.
- Display the current working directory to verify paths.
Print Working Directory;
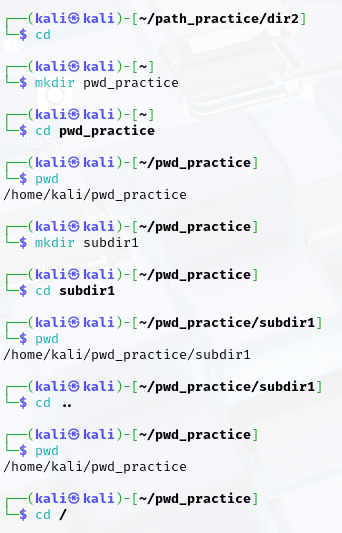
- Navigate to the home directory.
- Create a new directory named pwd_practice.
- Move into the pwd_practice directory.
- Display the current working directory.
- Create a subdirectory named subdir1 inside pwd_practice.
- Move into subdir1.
- Display the current working directory again.
- Navigate back to the pwd_practice directory.
- Verify your location by displaying the current working directory.
- Move to the root directory and display the working directory.

Create Directory;
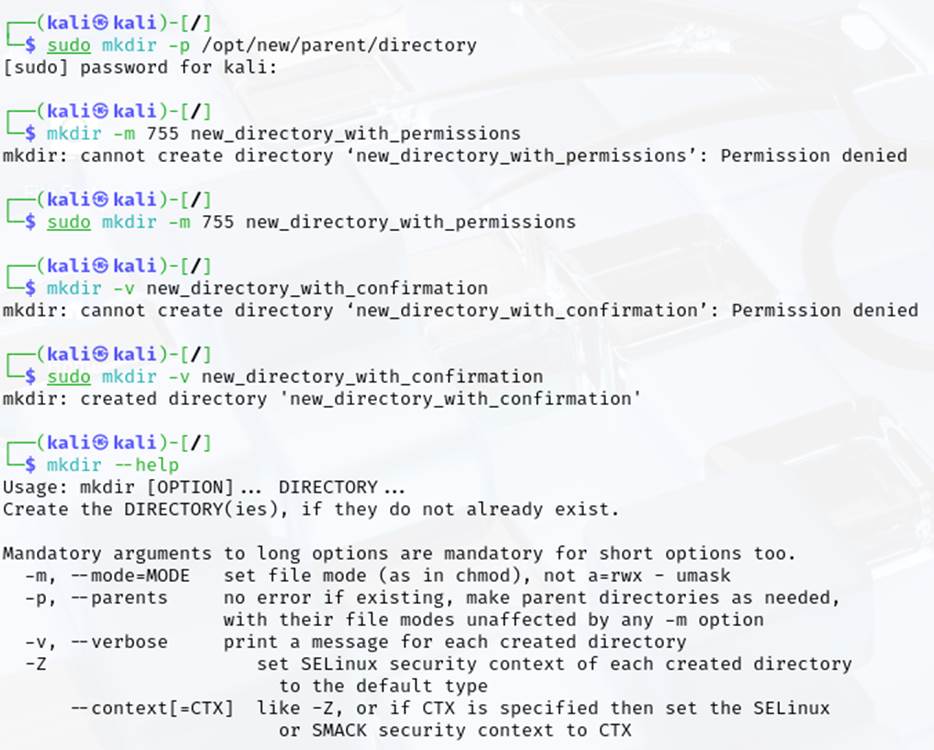
- Create a new directory along with its parent directories if they do not exist.
- Create a new directory with specific permissions set during creation.
- Create a new directory and display a message confirming its creation.
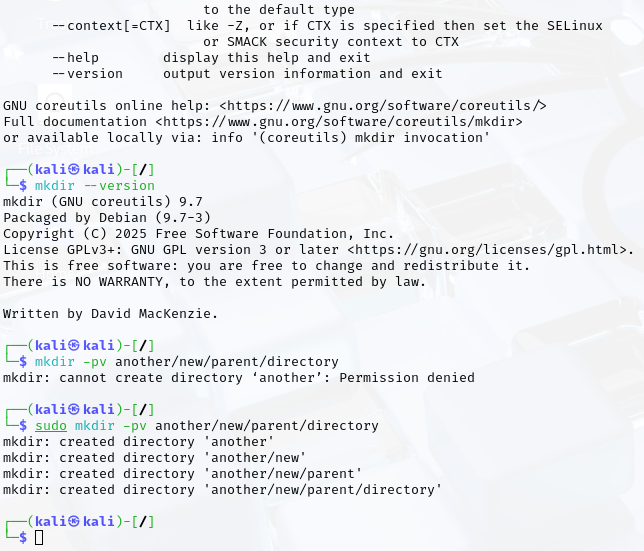
- Display the help message for the mkdir command.
- Check the version information of the mkdir command.
- Create a new directory along with its parent directories while displaying verbose output.
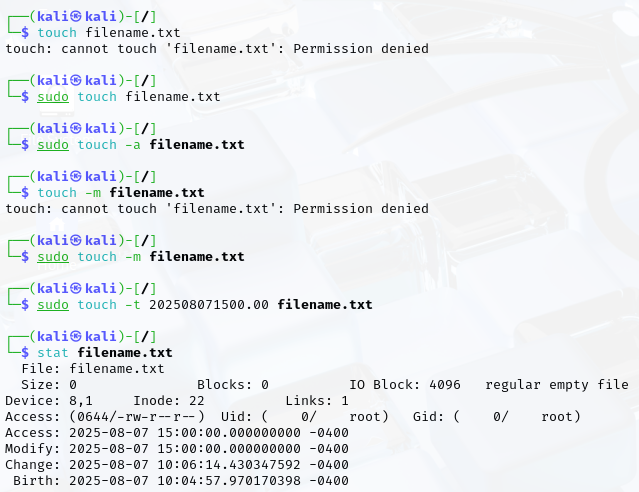
Create Empty Files;
- Change the access time of a file.
- Display detailed statistics of a file.
- Change only the access time of a file.
- Change only the modification time of a file.
- Set a file’s timestamp to a specific date and time.
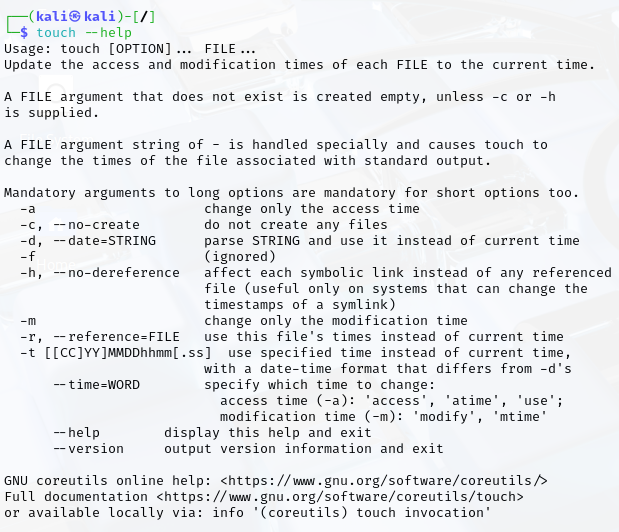
- Display the help message for the touch command.
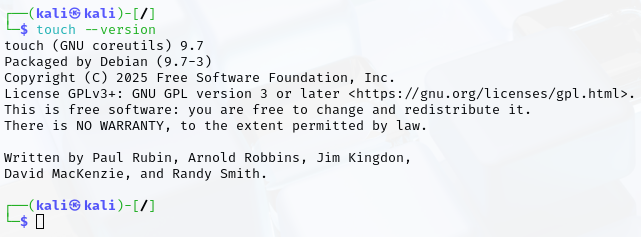
- Check the version information of the touch command.
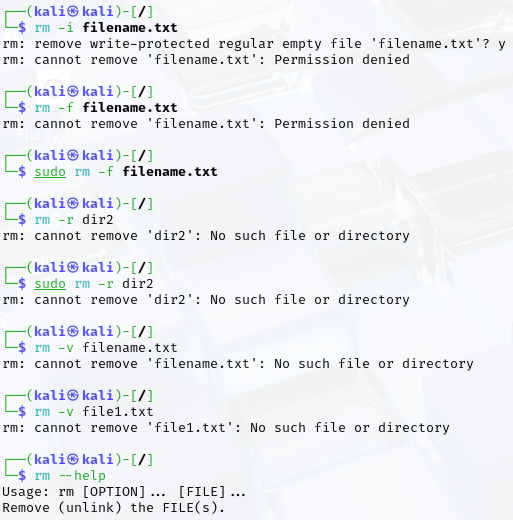
Remove Files;
- Remove a file with a prompt before deletion.
- Forcefully remove a file without confirmation.
- Remove an empty directory.
- Remove a file while displaying a message confirming its deletion.
- Display the help message for the rm command.
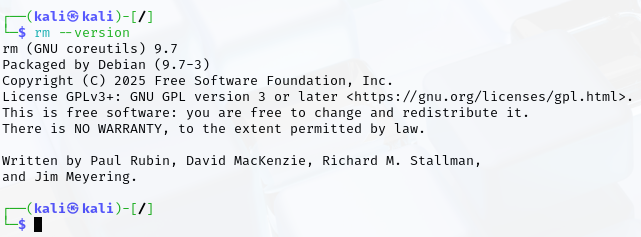
- Check the version information of the rm command.
Copy Files and Directories;
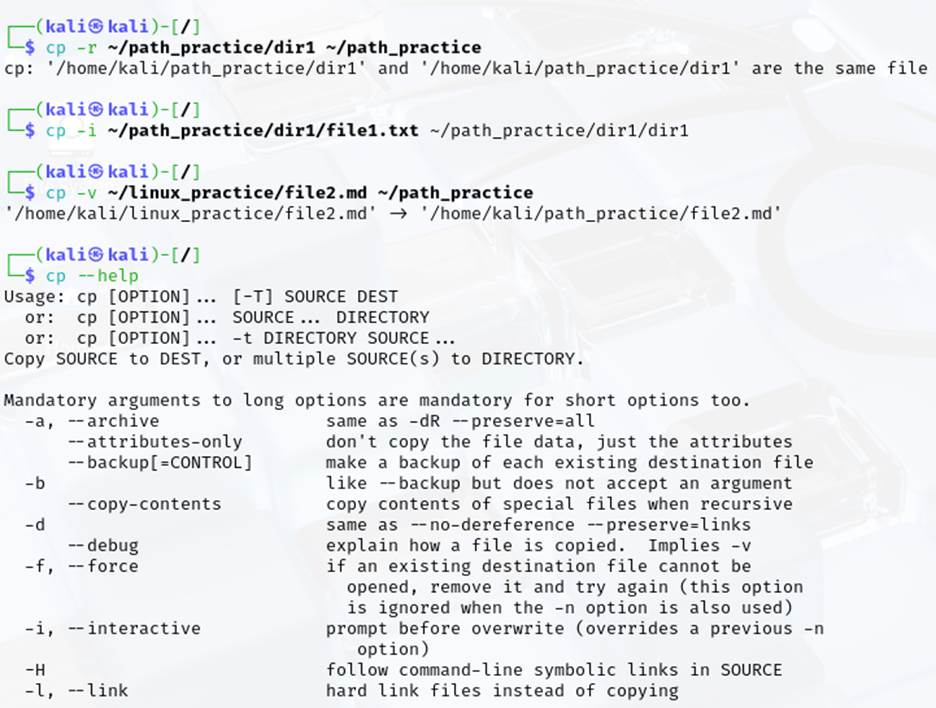
- Copy a directory and all its contents to another directory recursively.
- Copy a file to another location with a prompt before overwriting.
- Copy a file to another location while displaying a message confirming the action.
- Display the help message for the cp command.
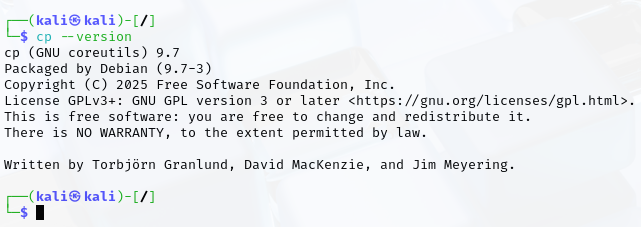
- Check the version information of the cp command.
Move Files and Directories;
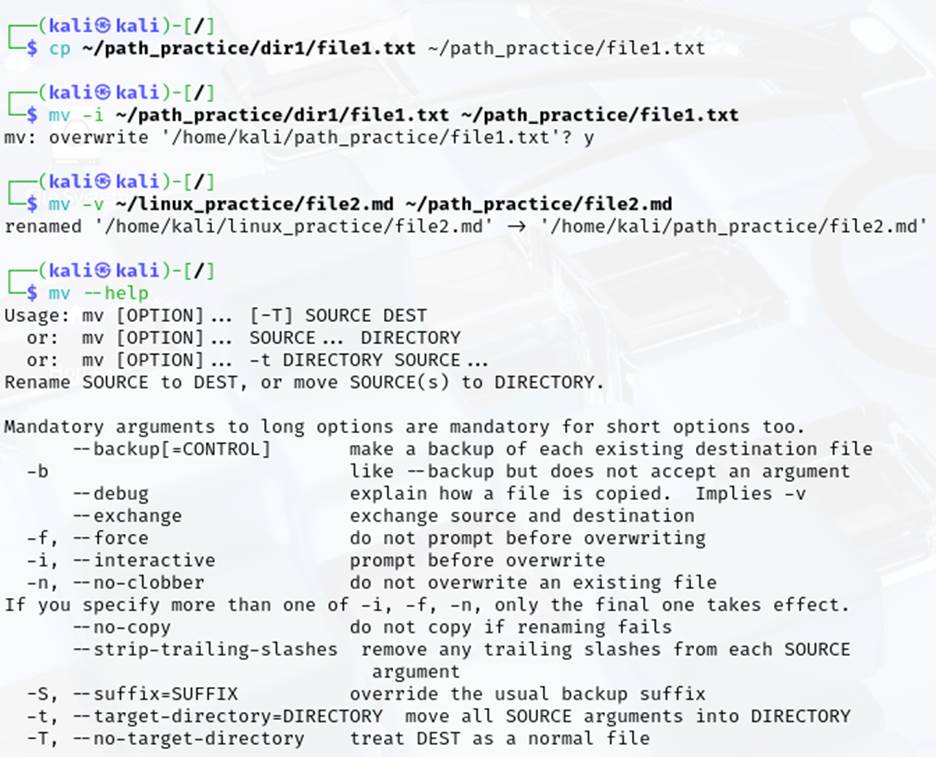
- Move a file with prompt before overwriting:
- Move file1.txt to file2.txt, prompting before overwriting if file2.txt exists.
- Move a file with verbose output:
- Move file1.txt to file2.txt while displaying a message confirming the action.
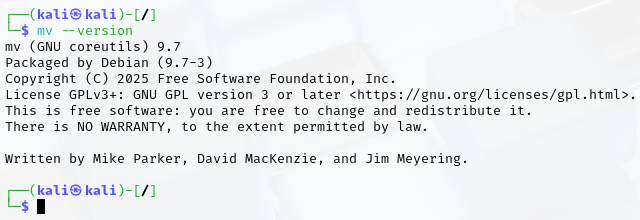
- Display the help message for the mv command.
- Check the version information of the mv command.
User Commands;
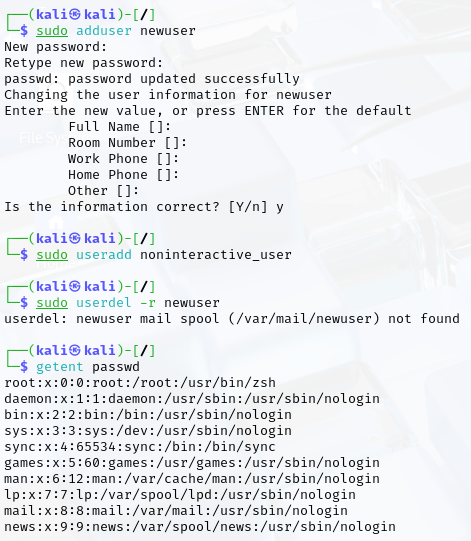
- Create a new user interactively
- Create a new user non-interactively
- Delete a user and Check the list of existing users using getent passwd.
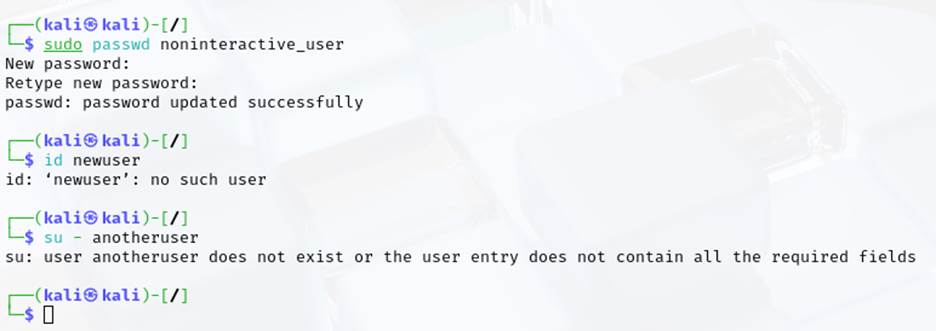
- Change the password of a particular User
- Retrieve information about a user using the id command.
- Switch to another user using the su command.
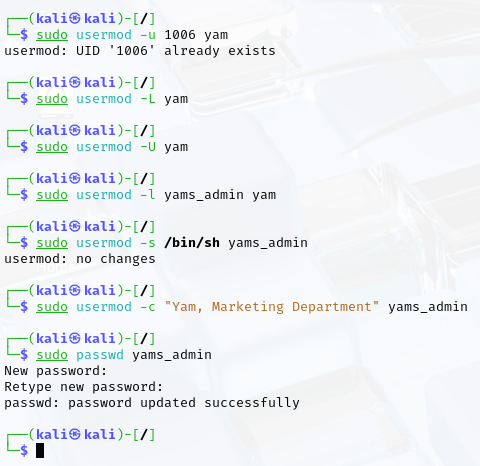
- Change the user ID of an existing user
- Lock the user account to prevent login.
- Unlock a previously locked user account.
- Change the login username of an existing user.
- Change the group ID for an existing user.
- Change the login shell of a user.
- Modify the full name of an existing user.
- Add a comment or description for a user.
- Change the password for a specific user.
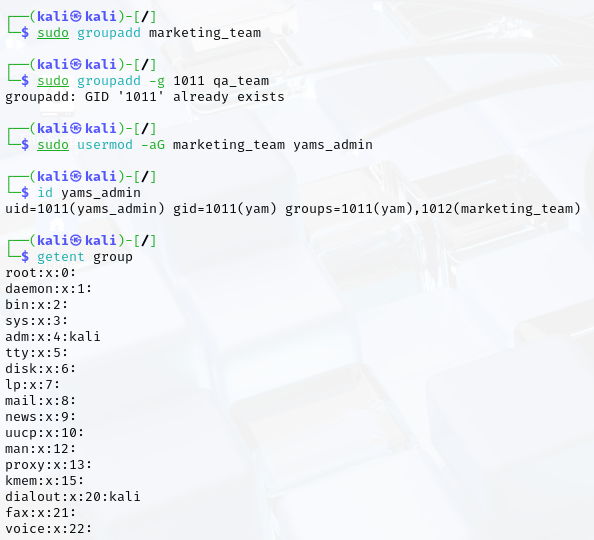
Group Commands;
- Create a new group
- Create a new group with a specified GID.
- Remove a group
- List all the existing groups
- Add a user to a specified group
- Remove a user from a specified group
- Check the user and group information for confirmation.

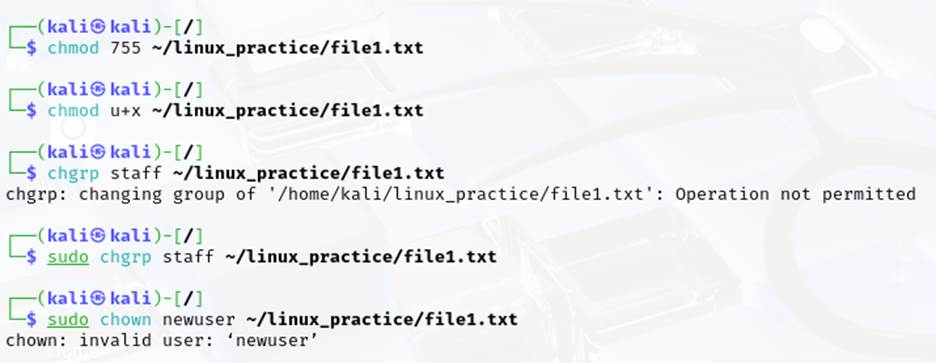
Permissions;
- Change the permissions of a file using the chmod command with octal notation (chmod 755 file.txt).
- Change the permissions of a file using the chmod command with symbolic notation (chmod u+x file.txt).
- Change the group ownership of a file using the chgrp command (chgrp staff file.txt).
- Change the owner of a file using the chown command (chown user file.txt).
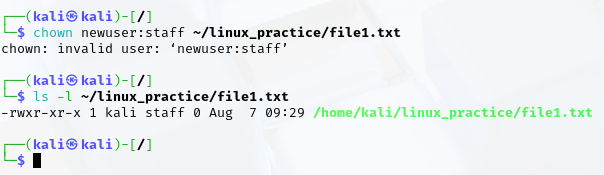
- Change both the owner and group of a file using the chown command (chown user:staff file.txt).
- Use the ls -l command to verify the permissions and ownership of files after performing the above actions.
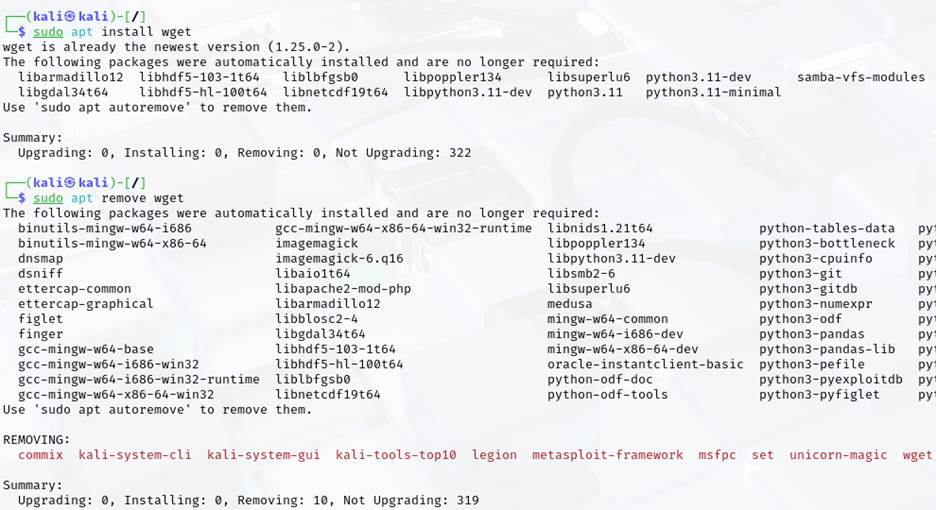
Package Manager;
- Install a package (wget) using the apt install command.
- Remove a package (wget) using the apt remove command.
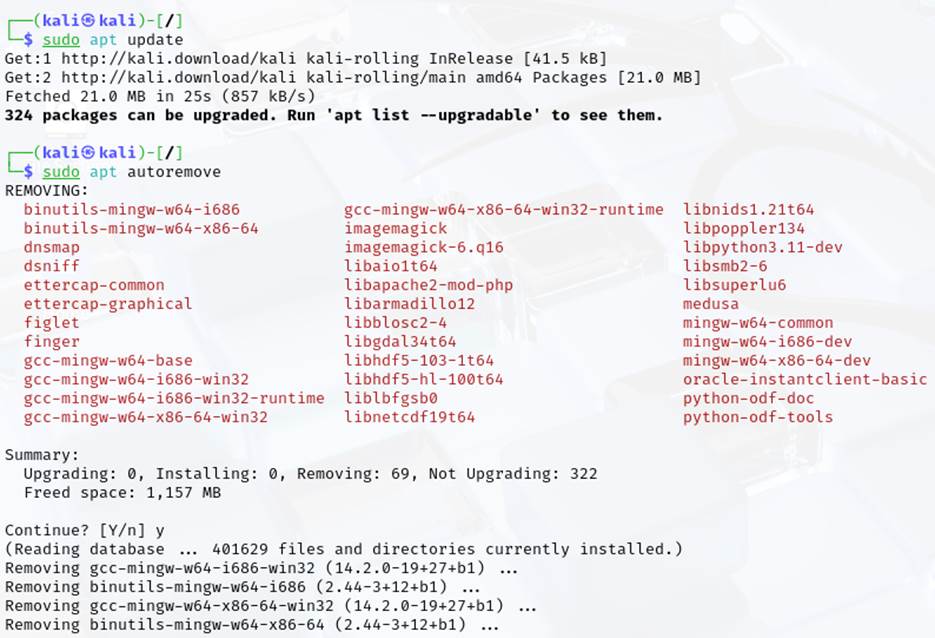
- Update the package list to get the latest available packages using apt update.
- Upgrade all installed packages to their latest versions using the apt upgrade command. Search for a specific package (curl) using apt search
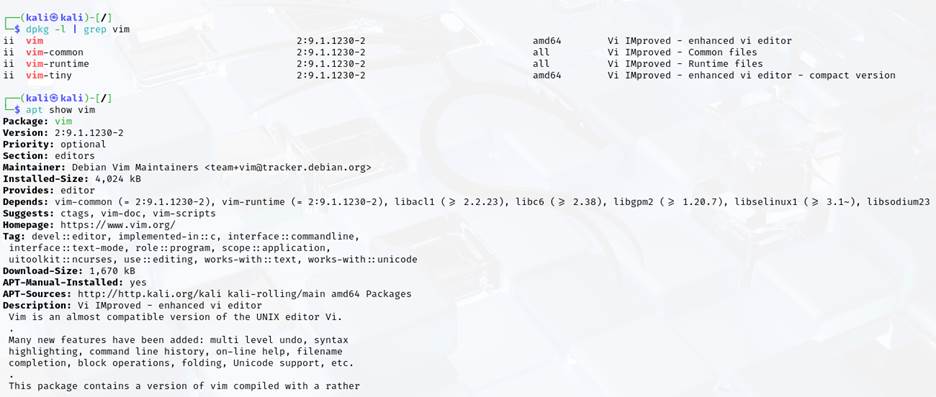
- Check if a package (vim) is installed using dpkg -l or apt list –installed.
- Display detailed information about an installed package (vim) using apt show command. Remove unnecessary packages that were installed as dependencies using apt autoremove.
- Install a package from a .deb file using the dpkg -i command. Fix broken dependencies after installing a package with sudo apt –fix-broken install.
For other related tools, set up click here